CustomWebView extension offers a lot of features, which makes it often confusing. So in this post I’ll cover the most asked questions related to the extension and share some snippets too.
WebView String
This awesome feature can be used to communicate between WebViewer and your app when needed.
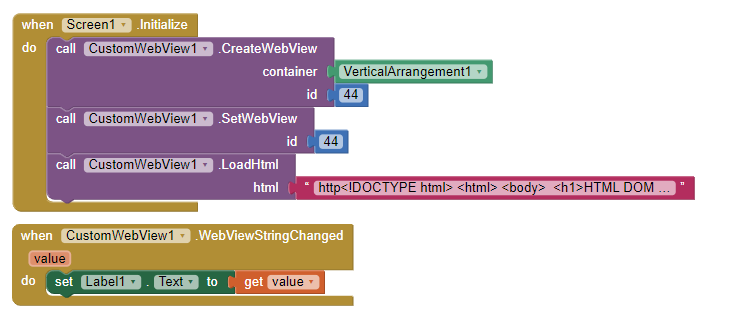
Html:
<!DOCTYPE html>
<html>
<body>

<h1>HTML DOM Events</h1>
<h2>The onclick Event</h2>

<p>The onclick event triggers a function when an element is clicked on.</p>
<p>Click to trigger a function that will change the WebViewString:</p>

<button onclick="myFunction()">Click me</button>

<p id="demo"></p>

<script>
function myFunction() {
  window.AppInventor.setWebViewString("Change screen to Screen2");
}
</script>

</body>
</html>
Use JavaScript functions
1. Create and Set Webview
As we know that to use the extension we have to create and make a webview active which can be done in following way:
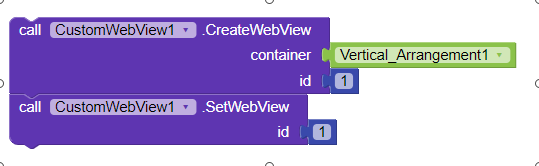
Since JS is by default enabled in extension so there is no need to set it manually.
If you are using WebViewer then you can skip this step
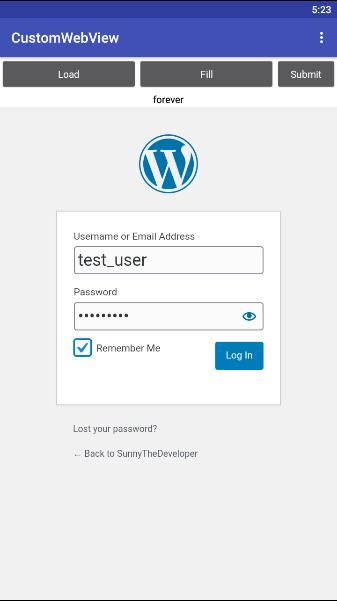
2. Load website
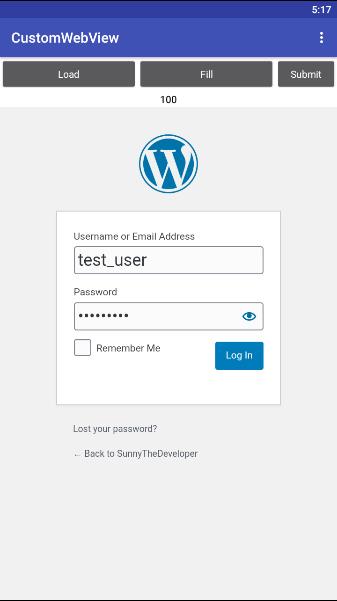
To run JS functions, I am going to use my old website, so I shall load it first.

It will load this page:

3.Fill textboxes
We need element’s id to perform these steps that we can easily get using Inspect feature of browsers.
Js: document.getElementById("text_box_id").value = "test_value";
Username and Password textboxes have id user_login and login_pass on the website so blocks will be these:

4. Toggle Checkbox
Checkbox is similar to button, so we shall have to call click() function.
Js: document.getElementById("check_box_id").click();
I got rememberme as id, so blocks will be these:

Result:
To uncheck it, call the function again.
5. Click on a button
To perform onClick function we shall have to call click() for that element.
Js: document.getElementById("btn_id").click();
For example, login page has a button named Log In whose id is wp-submit so blocks will like this:

But since username and password are wrong, so you will get this error:

Ad Blocker
1.Set up webview
It is same as previous.
2.Block Ads
To block ads we need to specify ad hosts which we want to block.
It conatins 3k+ ad hosts.
Your blocks should be like this:

You can also set ad hosts from file. For that, you will have to upload the file to assets and read it at runtime.
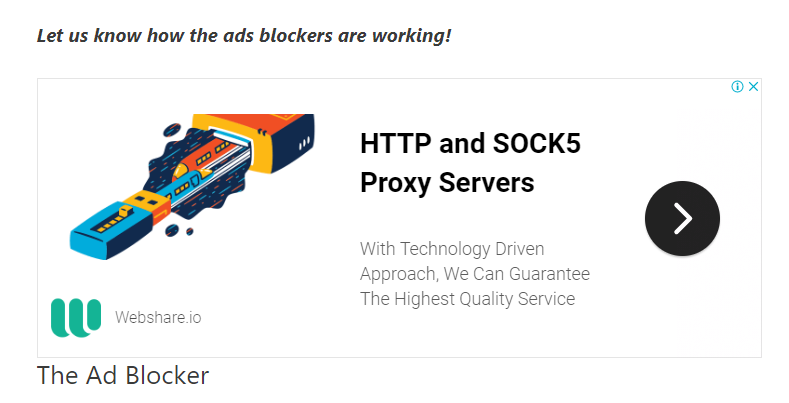
3. Testing
To test it, I tried to load this website.
Here is the result:

When using a normal browser:
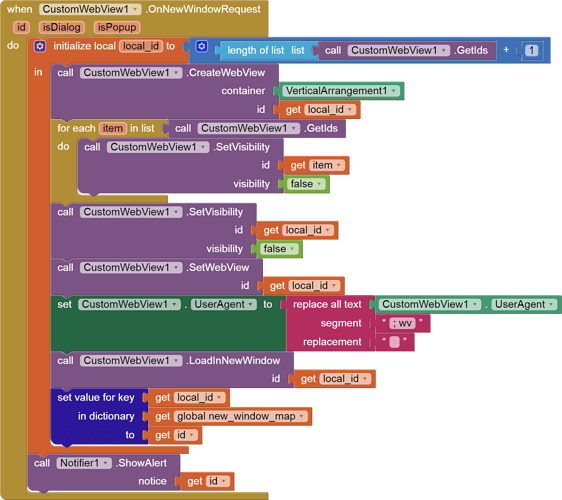
Handling New Tab Request and Back Press
CustomWebView supports multiple windows feature. If SupportMultipleWindows property is set to true and a website requires url to be loaded in new tab/window then OnNewWindowRequested event is raised.
Here is a snippet related to New Tab handling and Back Press.